Showing posts with label how to. Show all posts

Thursday, 19 July 2012

Red Gum Clock

I love hunting for wood.  I can't resist it when a fellow turner is selling some of his stock.  A while ago I came across a slab of what looked like Red Gum in such a sale.  As soon as I saw it, it screamed "Clock".  I hadn't delved much into clocks before and was excited about the prospect.


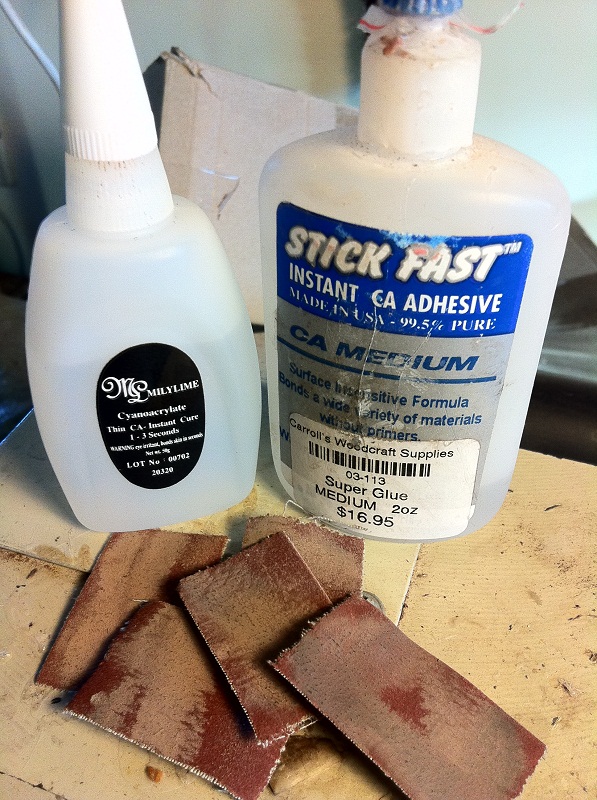
The wood was a relatively flat slice so all I needed to do was sand it smooth and finish.  I worked it with the orbital sander and some elbow grease from 120grit through to 1500grit.  At 1500 grit I rubbed it with some sanding sealer to raise the grain and repeated the sanding process a few times to get a silky smooth finish.


Being quite a thick (the wood not me) I bought a mechanism with a 24 mm drive shaft from Carbatec.  I used a suitable sized Forstner bit to drill a recess for the mechanism to fit in, and a smaller hole for the shaft to fit through and sanded the inside.


I gave the clock a few coats of Danish Oil to bring out the colour and shine plus it helps protect the wood.  The next step was to build the clock face.  I took a while to think about how this was best done.  I didn't want the numbers looking crocked or in the wrong place, how to get it round and spaced correctly?  My wife as always is the real brains of the operation and came up with a simple suggestion only seconds before I had the same thought.  Why not create a cardboard template to fit over the shaft.  To do this (wish I had taken photos!) I cut a circle of card just smaller than the diameter of the face I wanted.  I used a protractor to mark out 30 degree lines of bearing for the numbers and made a hole to fit over the clock shaft. Putting that on the face I decided where twelve wood be and taped the template into place.  From there it was easy to stick the numbers to the clock face. 


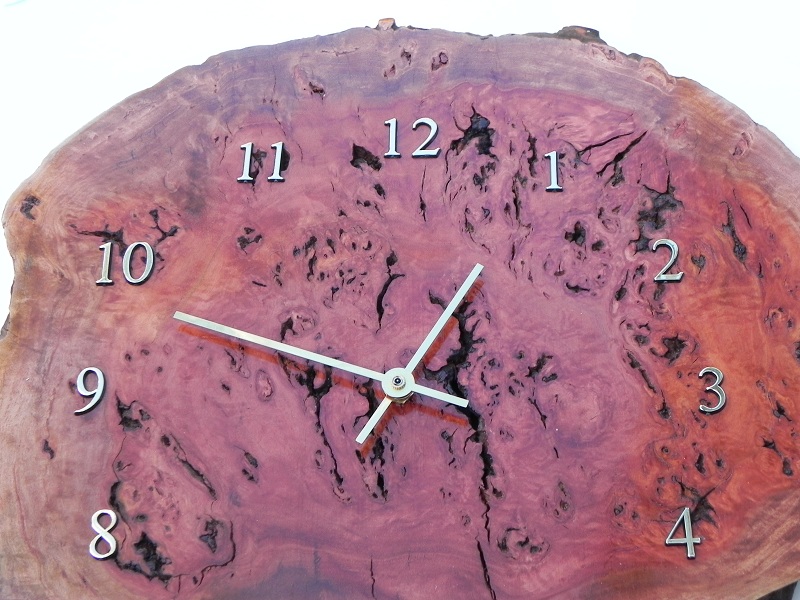
I used 20mm Gold numbers and straight gold hands that screw onto the shaft.  Although the mechanisms come with numbers and hands you select, I had chosen poorly at the time so these additional ones came from timberbits, my favourite on line pen store (and also clocks and many other wonderful things!).  I think the clock turned out fantastic and I can't wait to hang it, now I just need to wait for the new house to put it in!


What sort of clocks do you like?


Sunday, 8 July 2012

Bullet Pen Tutorial


Today I managed to get some study done for the up coming simulator check at work and rewarded myself with some shed time.  I was after a quick project, so a pen was the perfect idea!  This is only the second Bullet pen I have made but they are so easy and quick I couldn't resist.

First is to pick a timber to match the kit.  This is a Gold Bullet from Carroll's woodcraft supplies and needed something rich to go with it.  I know nothing about guns, but I do have friends that do and they told me Walnut is often used in the stock.  A rummage through my blank supply turned up some walnut (good result),


I always lay out the kit and bushing before starting to check the parts are all there. 


The next step is to cut the wood to the correct size for the brass tube and drill the whole.  Its best to cut the blank a few mm to long at each end.  This pen requires an 8mm drill bit (each pen type is different).


Next is to check the tube fits the blank OK.  If the fit is tight then I rough the edges of the tube with some sandpaper before gluing.  There is a lot of different ways to glue the tube in, all seem to work.  My usual method is to run some Medium CA glue into the blank, then a line onto the tube.  I then insert the tube into the blank whilst turning it to spread the glue.  I have learnt to wear rubber gloves when doing this as I am a cluts and have glues a few fingers together.  Usually when I am gluing I do a whole batch of pens at the same time.  The pen now needs time to dry, for me I generally leave them over night but for medium CA a few hours is plenty.


As the blank has been cut a bit long it is important to use a barrel trimmer to square of the edges so the pen kit has a great fit.  You can use a sander to do this, its just important to make sure the edges are square.


Now comes the fun part, time to turn!  Fit the bushes to the blank and then place on a pen mandrel.  You can knock the edges of the blank before turning and when using acrylics I often do, but this time I didn't.


I like to use a spindle gouge to turn do to the correct shape before finishing with a Skew


 Create the shape you want, for a Bullet I keep it fairly straight between the bushes leaving it a little proud.  To get the wood down to the correct size I sand it to the bushes starting at 150 grit moving up to 1500 grit sandpaper. Next it is important to remove any dust with a quick zap of air from the compressor.


You should now have a smooth bit of wood, now time to finish.  There are lots of finishes you can use and it depends on what you will use the pen for.  For a durable but good finish I like CA adhesive (super glue).  I use a few layers of medium to fill any dent in the wood grain.  I run a small bead across the top and use the back of the sanding paper to smooth with the lathe spinning.  Once this has been allowed to dry I use 0000 steel wool to smooth of the ridges before applying the thin CA.  How many coats?  Good question, depends on taste.  Some people go 20 coats or more, and the more you go the thicker the finish.  I prefer about 10 thin coats doing five then letting it dry then another 5.  With the lathe spinning at 500 rpm, even holding the glue on for a second will give many thin layers.


Now that the glue has been applied I let it dry then its time to polish.  I use micro mesh sanding pads.  I wet sand with those and then use Brasso to get out any fine marks and give it a final hit with car polish to make it pop.  Then its assembly time.


This is one of the easiest kits to put together, just screw the transmission into the body.  Squeeze the cap onto the body you have just made, be careful not to crack the body.  The last job is to push the two halves together.  Looks pretty good when finished!


If you like my pens why not check out my etsy store http://www.etsy.com/shop/sameliasdad
Use the coupon code BULLET for free postage for a limited time only.